Just giving a little introduction here, Roger Berry hails from Halifax and is an Electronic and Software design consultant. While he previously studied software design, he took a course in furniture building, and since graduation, has worked for the Eureka Children's Museum, where he has designed numerous exhibitions for them. Also, the man is an honest to goodness gamer, who absolutely loves his classic games (Whoo!).
Anyway, we started off the day with David getting the sleeve of his coat stained with paint when he accidentally leaned on one of the wet doors. Thankfully however, it came right off with some white spirit. Once we introduced ourselves a little to him (And I really don't think I have met anyone who was so interested in what we had to share as him), we then headed into the workshop and went through some usual procedures such as getting briefed on health and safety and what we will be doing for the day.
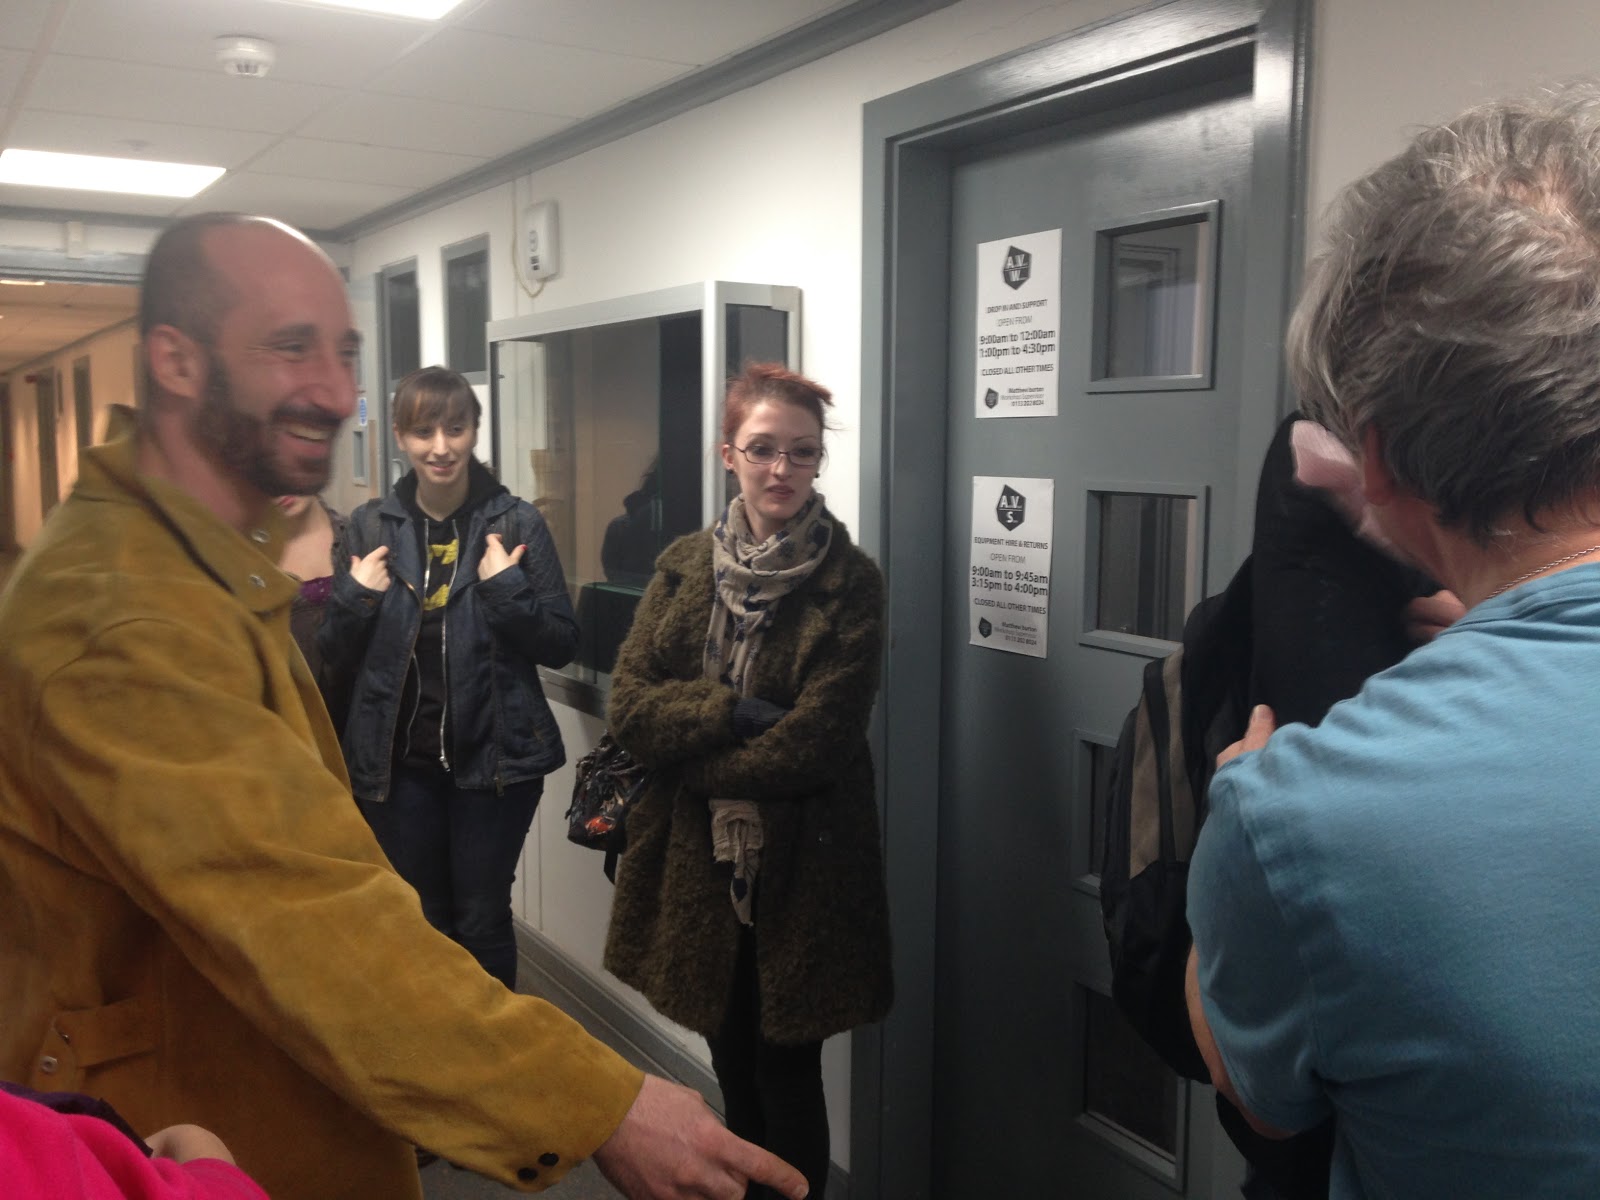 |
| Look at Leon, laughing at other people's misery. |
For this workshop, we were shown how to make a box... okay it probably sounds pretty dull when I say like that, but really, it wasn't. We were also made to build a little piece of mechanism inside the box that would allow you to rotate a little object at the very top of the box... you could say that it is a very basic rotation device (As seen below, with his cute little golfing figure).
We were provided some blue prints on the parts that we would have to make before we began some calculations, much to the hilarious chagrin of my classmates. This would prove important once we finally started preparing our parts.
The first piece of machinery we were taught to use is the Alterndorf WA80, a dimension cutter that accurately cuts your material, all you need to do is enter in your desired length value and it will automatically be adjusted for you (Obviously better than those guillotines in the library). It also allows you to cut in the mitre joints for your components (That we did after our lunch break), though it would seem that the scale was a little off, so an extra 1mm had to be added to the overall value before you could actually start cutting.
Anyway... let's watch the first few demonstration videos.
I am so sorry about this, I had to downsize all of my videos so that I can actually post them on here (The original quality is much, much nicer), also be warned, you might want to lower your volume... it might be safer than trying to catch what he is saying:
After that, we were shown the band saw, and by that time, I was literally jumping with joy as I remembered using one of those back in Secondary school. I always remembered one of the first rules of using it is that each cut must go in one direction, so don't even think of trying to turn it half way through or trying to tilt it. This machine is just meant to cut out the large chunks, if you wish to smoothen that object, you will have to use another piece of machinery.
It was definitely still one of the most challenging tools to use, especially when I had to cut out a notch for one of the box walls (It felt like a puzzle really, and I am so bad at those).
Next up was the Disk Sander, said to be the most dangerous machine of all, but honestly it was the most fun one to use for some reason (And I don't file things often), this is where we smoothen the edges of our components, while taking great care to keep our hands away from that rapidly spinning disk, otherwise you are going to messily lose a few fingers in no time.
The drill press was another tool that I had used back in Secondary school, though I don't remember it as well as I didn't use it as often as I had with the Band Saw. It pretty much does what its name says, and that's drilling holes. This was probably my least favourite tool, and I will tell you why in due time.
The last piece of machinery we were shown was the Overhead Router, this is where you create rebates into your components (Like a kitkat), it's pretty straight forward, but the one major rule is move your object from left to right as the drill is rotating in a clockwise position, so if you were to accidentally do it the other way round, everything is pretty much going to fly everywhere in a carnage of saw dust and wood chips... and maybe a little blood, and definitely splinters.
After we were shown how to use these tools, we then set off to make our components, though of course not without putting on some safety equipment. Thankfully, seeing as we were a small group, we were all actually able to complete our boxes by the end of the day, though there were still issues where we had to wait for one another when using the drill machine...
Did I mention how much saw dust there was? In due time, we ended up coughing a little, it was inevitable, even if you were wearing some form of protection (Though maybe I should have worn one of those masks instead of just pulling up my bandana).
With all of the pieces finally completed later that afternoon, we then began putting it all together. Some holes unfortunately turned out a little too small, and so Roger had to help us out by using a portable drill (I wanted to just say drill, but you probably know why I didn't). After some gluing and sanding (And some more drilling), we then used duct tape to put together our boxes.
I actually screwed up near the end when I was drilling the side holes into my gears, I didn't want to keep my classmates waiting, so I tried getting it done faster... and in the end, I accidentally didn't position the gear properly and so drilled one of the holes a little too close to the edge. Thankfully Roger had a spare one to let me use, so I did not have to go through the trouble of making another one. Aside from that issue, the reason I don't really like the drill machine is how tedious it is, even compared to some of the other tools (I didn't mind cutting numerous square pieces with the dimension cutter).
Also I screwed up a little when it came to some measurements, and accidentally took one of Sam's pieces instead (I'm so sorry!!!), but once again, there were thankfully some spare pieces that Roger was able to provide us with.
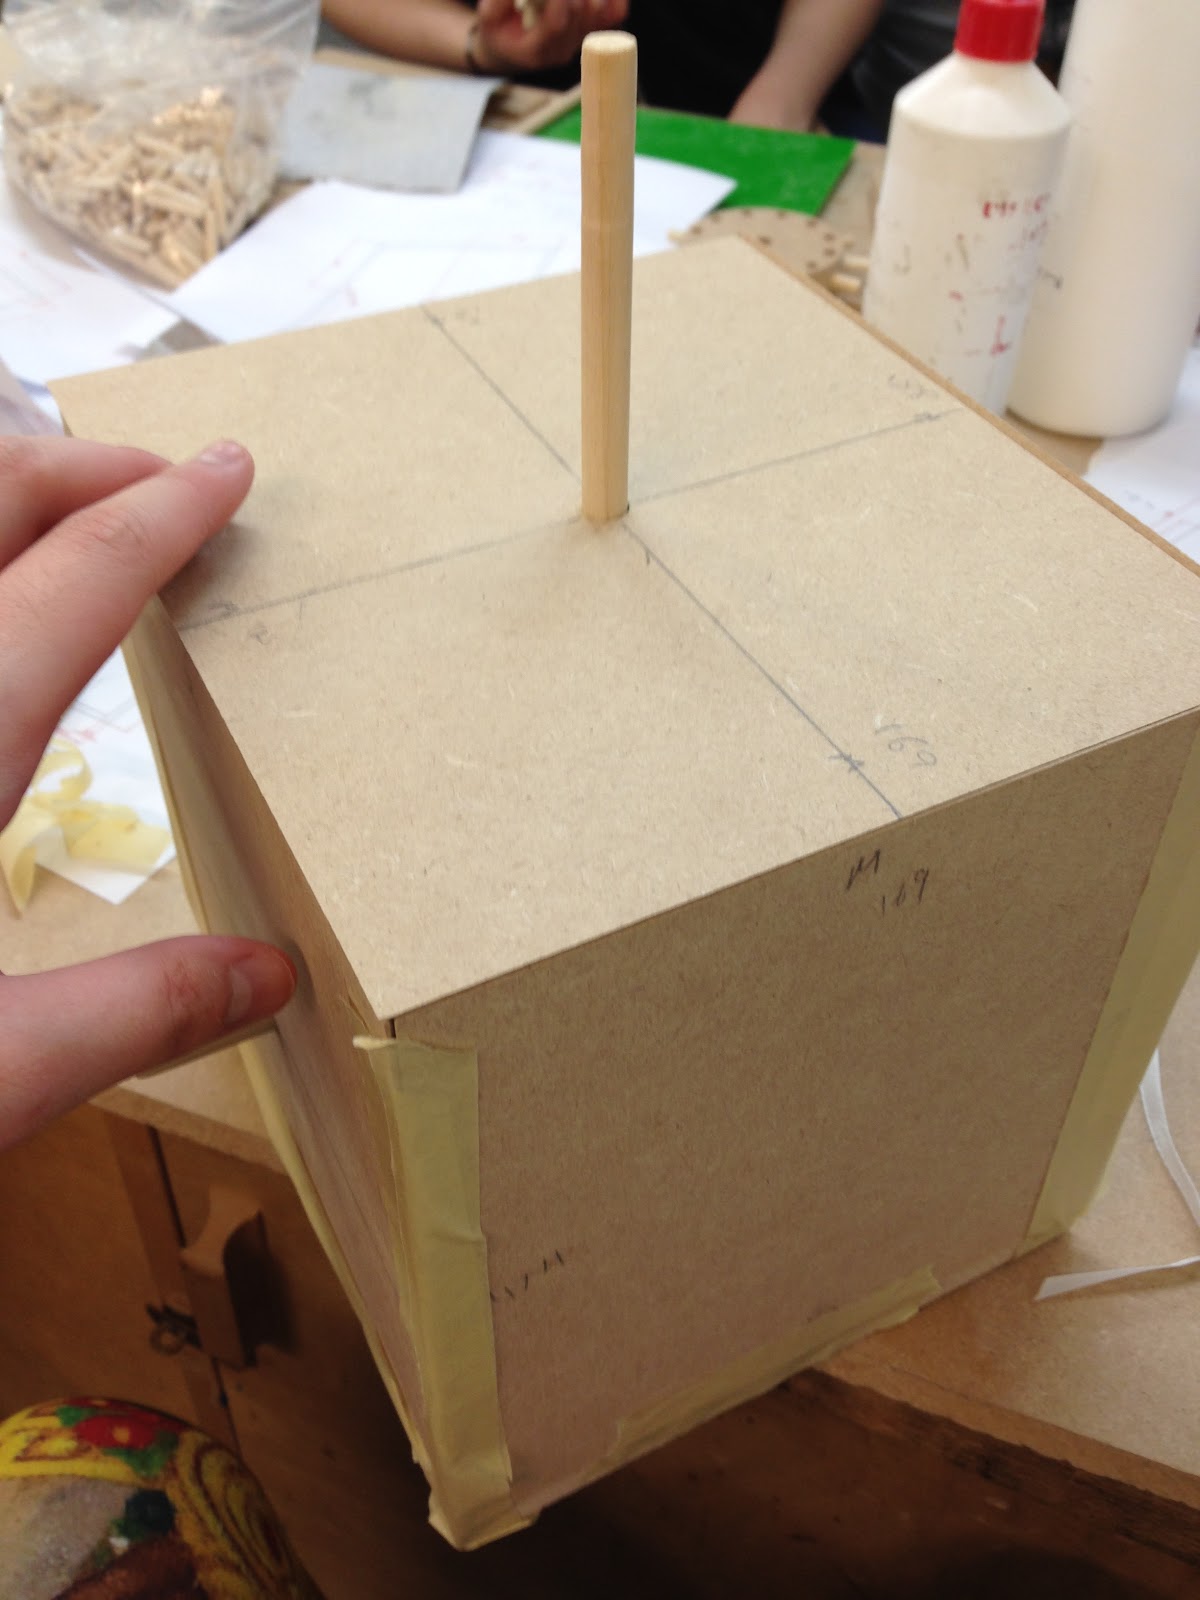 |
| And here's my box. |
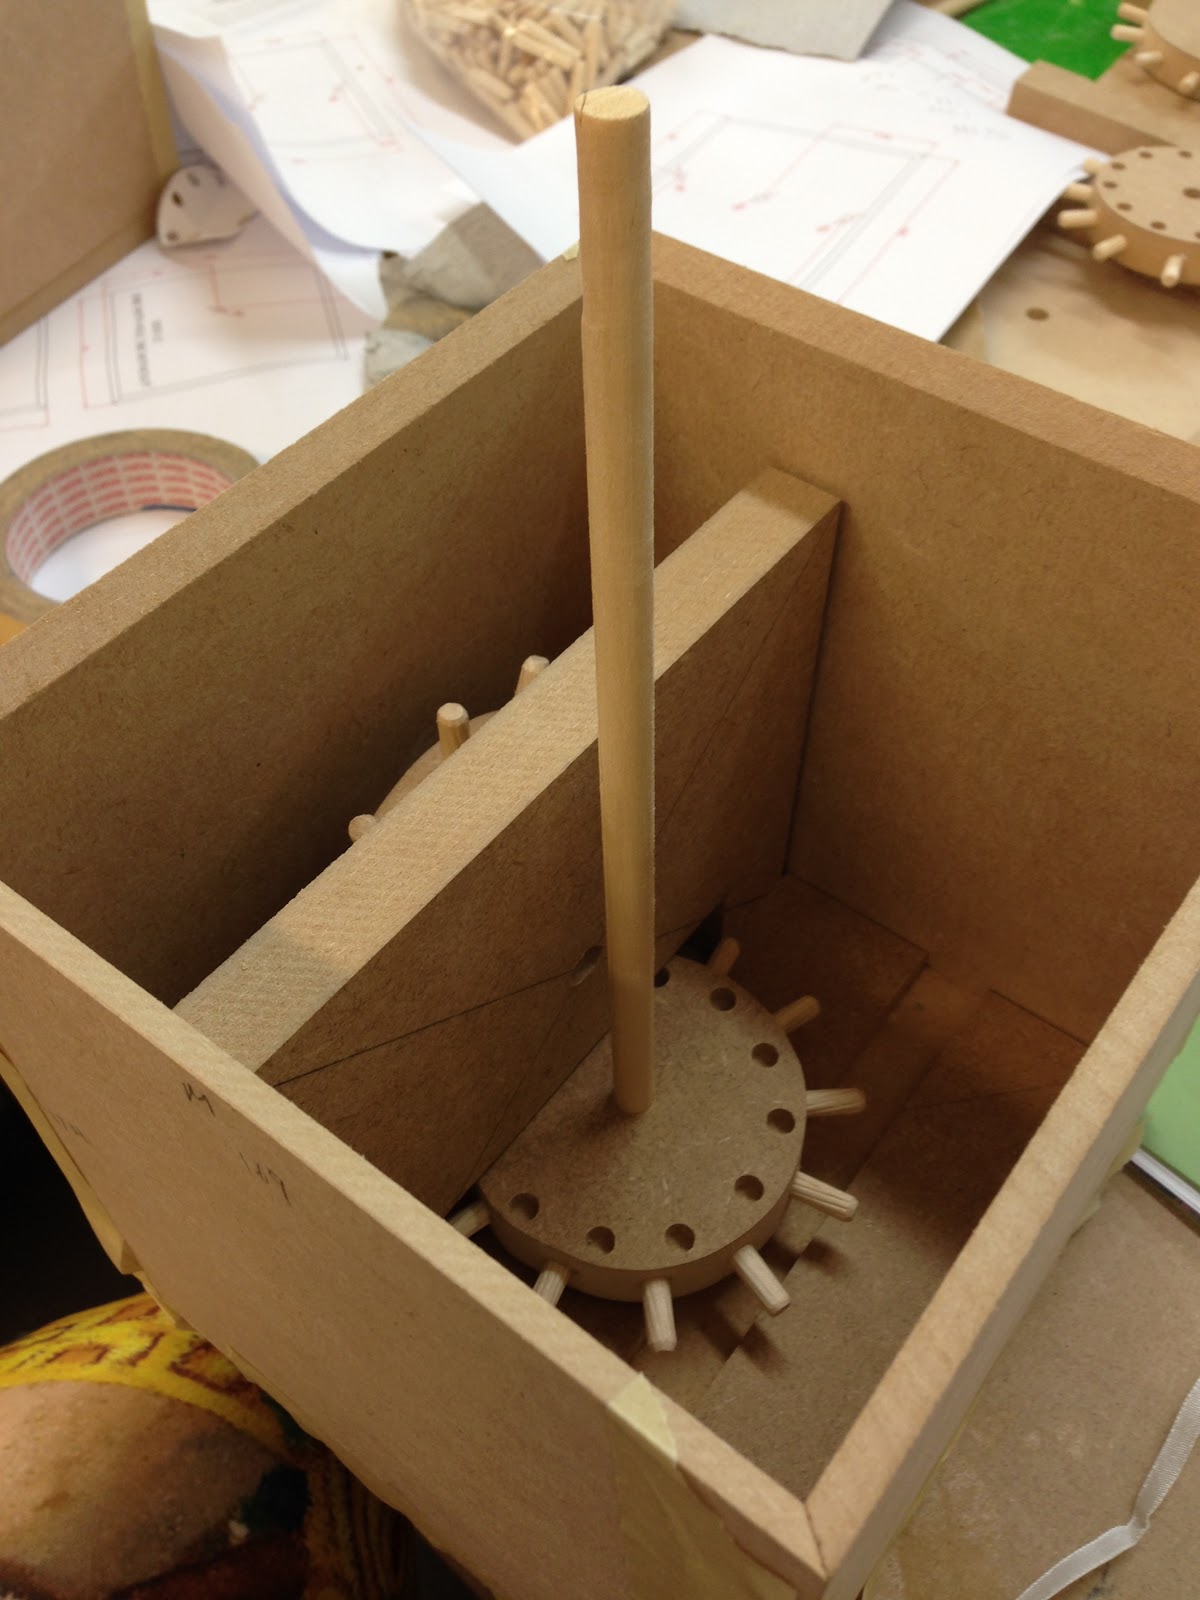 |
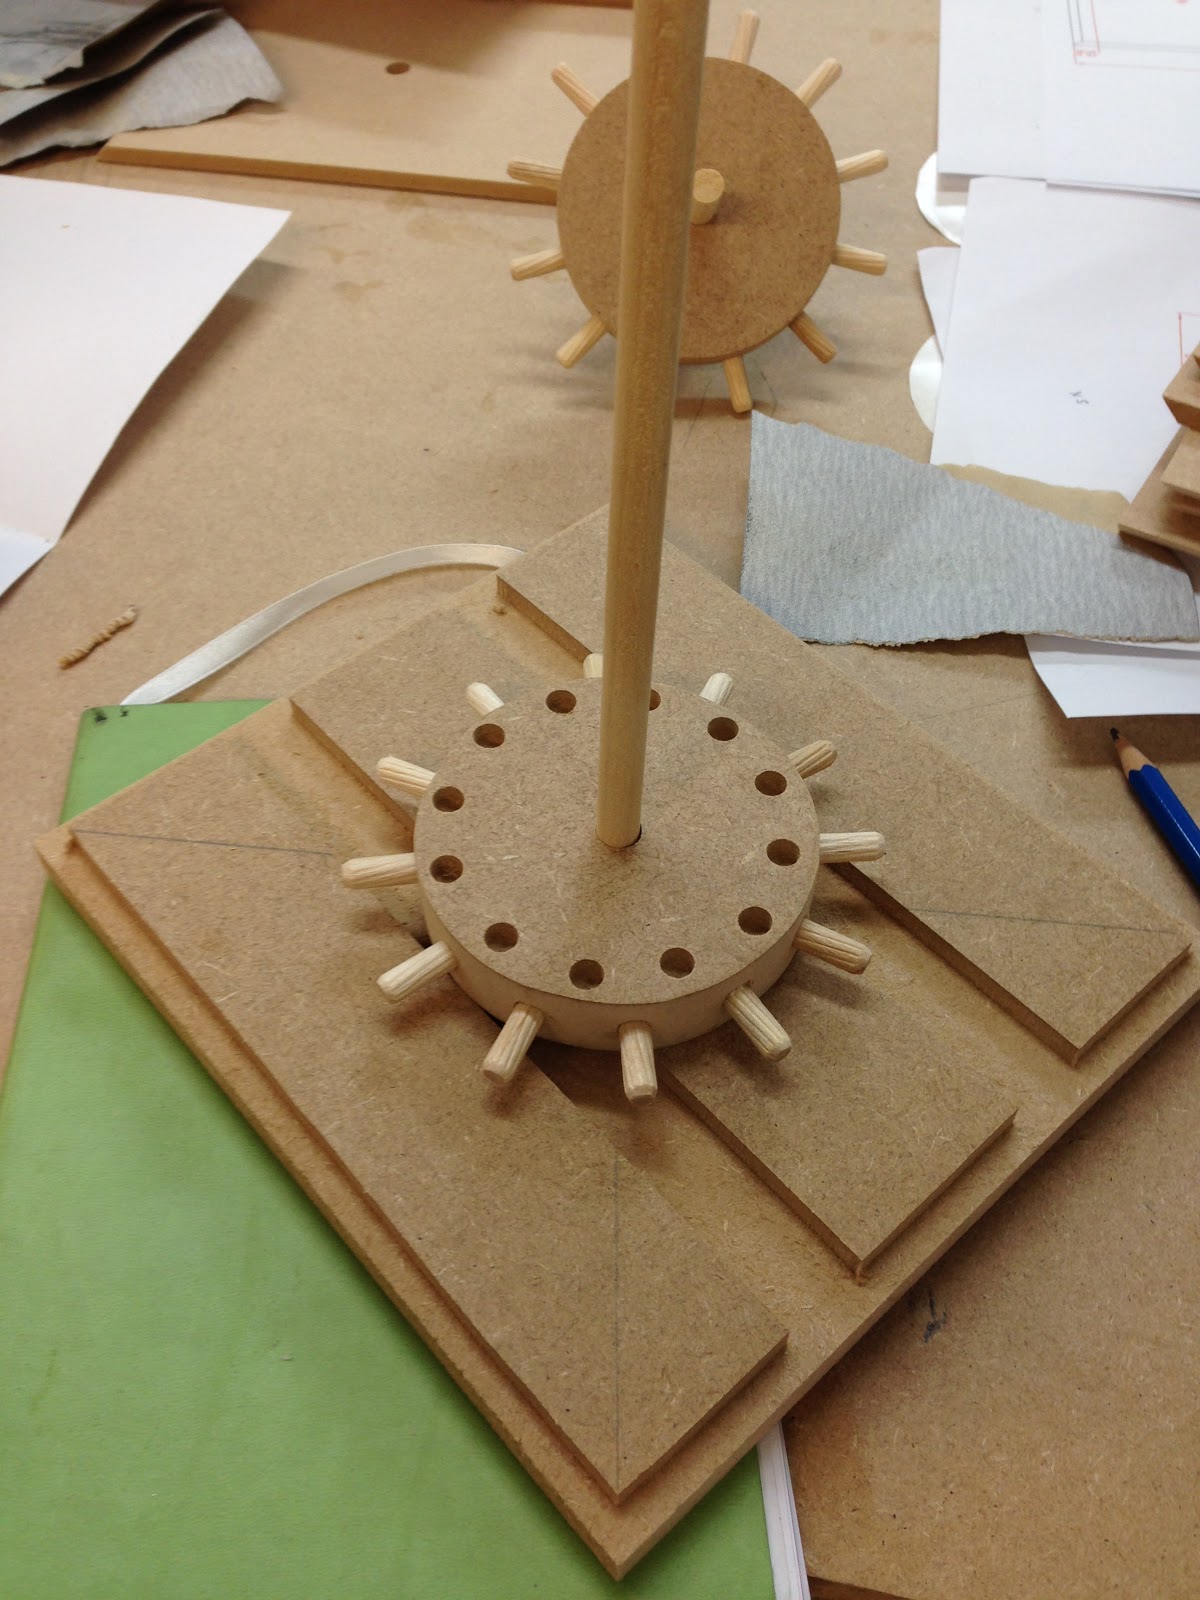
| And here's how it looks inside. |
And here's what happens when I turn the outside handle, I gotta do it slowly though, otherwise the gears will fall out of place:
I have since removed the duct tape and neatly replaced it with scotch tape, I am hoping to decorate it in the future... and while it's a little weighty, I do want to bring it back to Singapore if I can (Along with my armature and ceramic head).
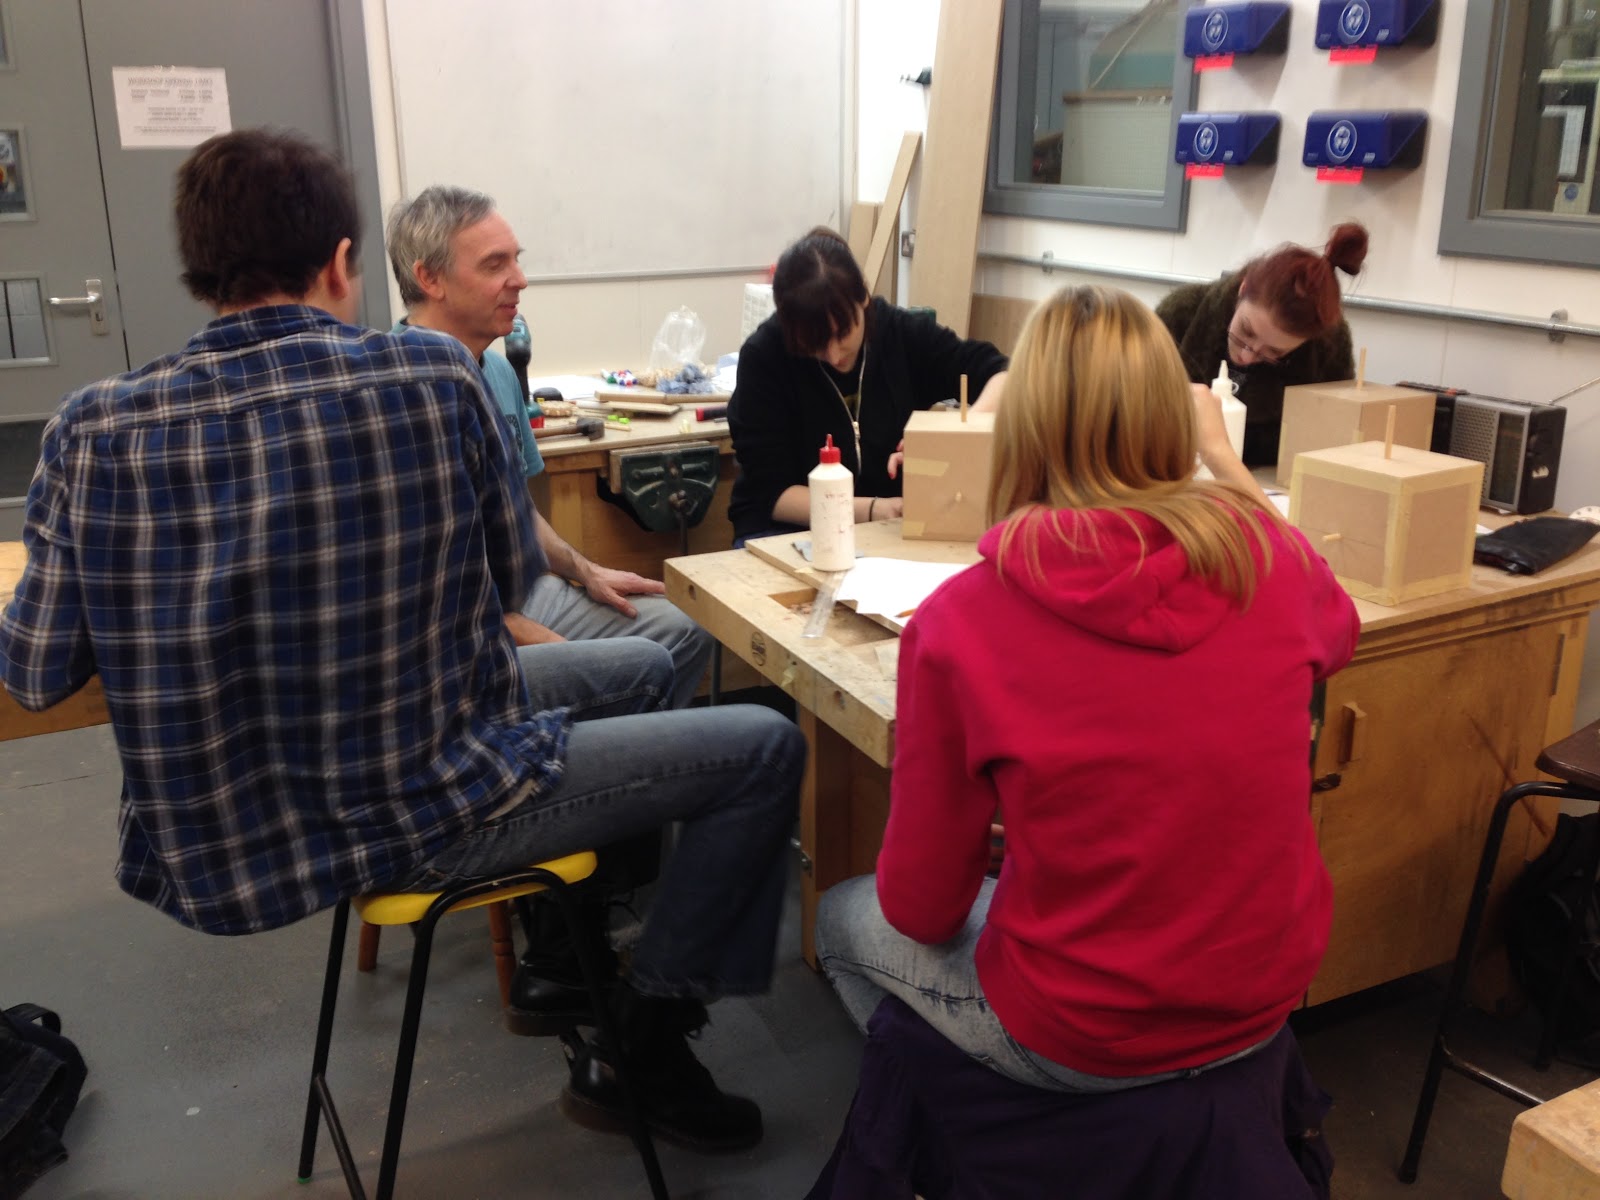 |
| Here are some group shots that I took just as this workshop came to a close. |
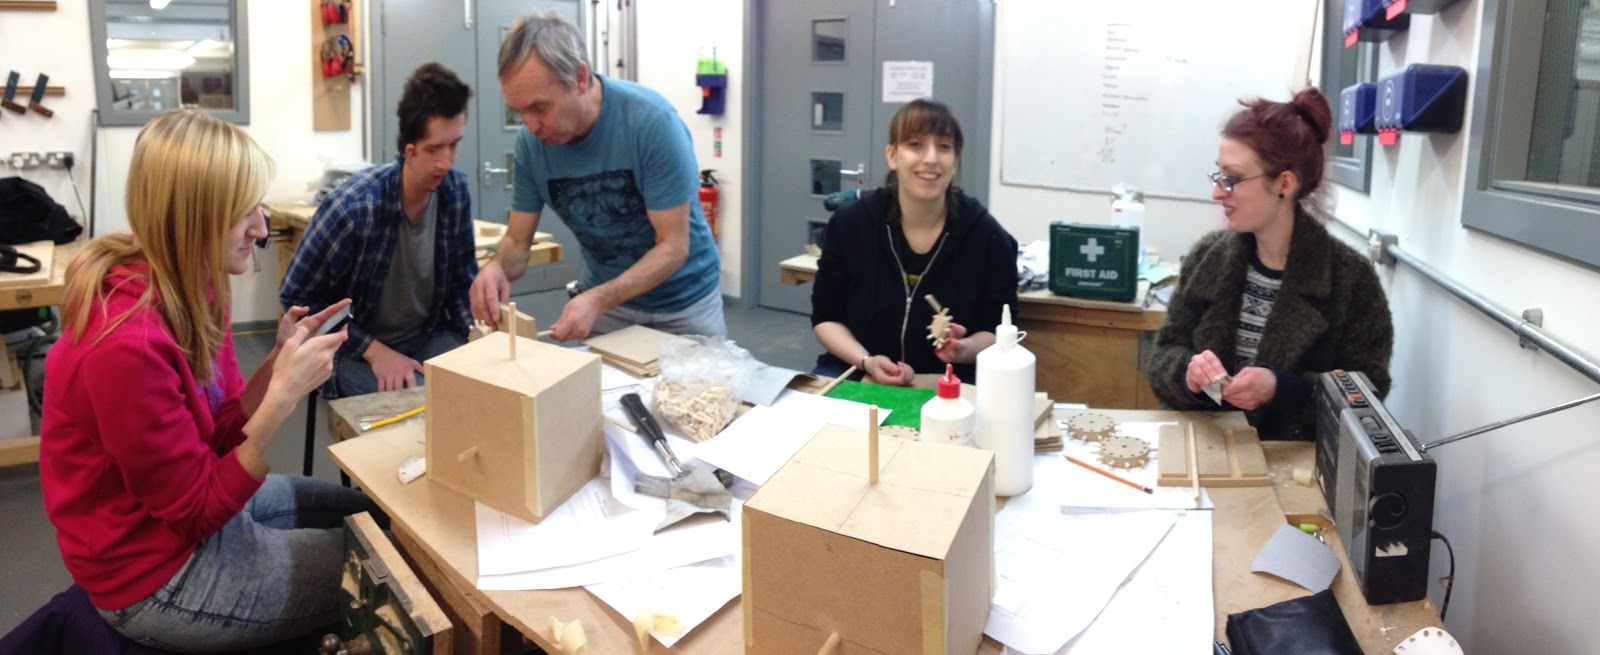 |
| I also like this one. |
Everyone is just so lovely here... nnghhhh...



No comments:
Post a Comment