This week starts our first of four 3D Workshop Inductions, aside from this being quite a change of pace from our usual work, I find it all strangely relaxing and therapeutic (And by therapeutic I mean smashing things with a hammer and yelling at the little wire skeleton I worked on…).
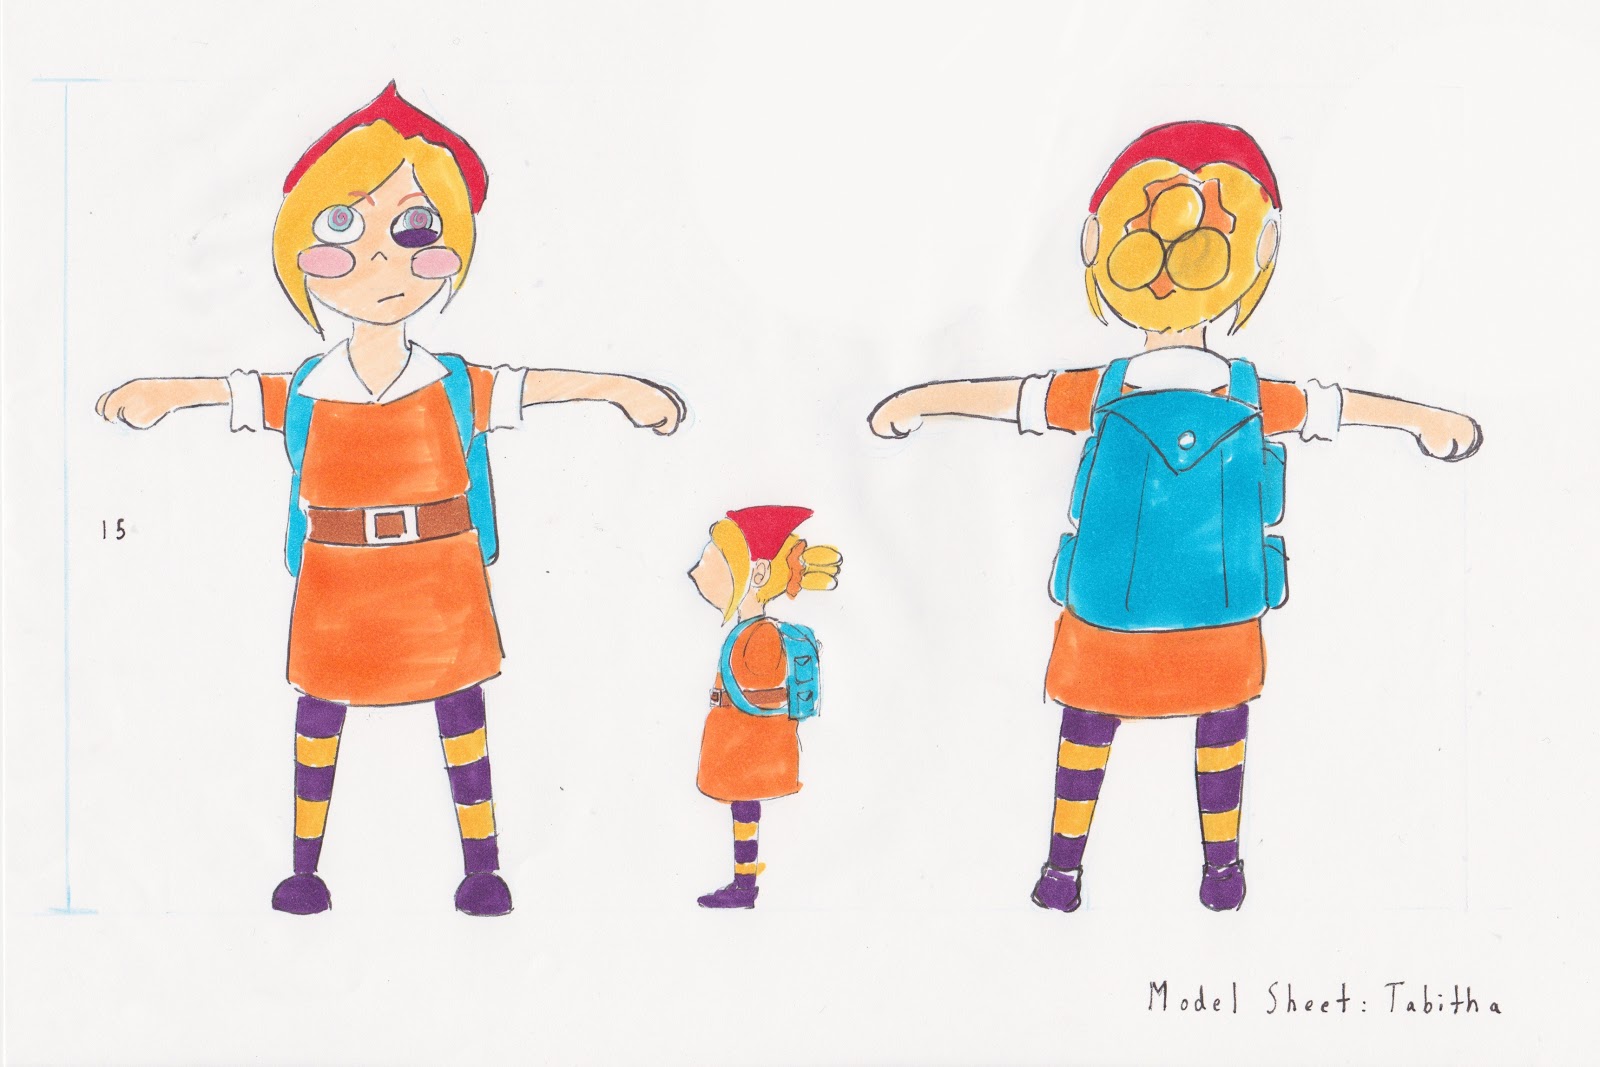
Before starting on the armatures themselves, we each quickly designed a character sheet (Not pictured here) with rather specific dimensions (Well, at least a specific height), I had initially done a much more detailed character design before deciding to go with something simpler (Which was a really wise choice). While coloring it in wasn't actually necessary, I do hope to paint my armatures and clay head once they are done.
 |
| Elliot, stop appearing in all of my shots! |


Speaking of the milliput, today we immediately went straight into designing a simple character and created a wire skeletal form for it. Initially I had decided to use one of my more realistic looking character designs, before changing my mind and quickly switching to something easier and quirkier (Which you will get a chance to see soon enough), seeing that I am not at all familiar in handling such mediums, I believe it would be wiser to stick to something easier.
While I was incredibly cautious in using the saw while cutting out a little iron bar that would be used as a hold and form of support for the model, I instead ended up hurting (Just a little) myself when twisting a few wires. So I learnt my lesson there, never let my guard down around wires.


The first mistake I made was making its head a little too big, but after awhile I believed that it could still work and so carried on. What was perhaps much more important was making sure that I did not use too much wires that it would make it impossible to move any of my character's joints.


Evenly putting on the milliput took ages, I had to try and leave a decent amount of spacing for where the joints should be (Which proved quite difficult considering how small my model was) and to use just the right amount of it for my character's rather tiny limbs. I goofed up then by mixing all of my milliput, and so tried to make other little things out of it before it hardened and went completely to waste.
The next mistake I made was not tying the model tightly enough to the supporting rod (I kept messing around with it since it was a tad too high and reached the mid back of my character's form, hence getting in the way of me being able to properly apply the milliput in that area), I will have to fix that next week.

Drilling a hole into a wooden board was a really short and simple task, but I enjoyed it so much that I ended up offering to do Samantha's too.
Once all of that was done, we then got down to work and started creating the skeletal form for our characters, much finger pricking occurred throughout the next few hours… We followed the guide Donald (Yet another sweetheart of a lecturer) provided us on the board, endlessly twisting and cutting away at wires while sharing the wire cutters and pliers with one another (It really wasn't too much of an issue that each of us did not get a set of our own, which reminds me, I have to buy a proper set one day).
The first mistake I made was making its head a little too big, but after awhile I believed that it could still work and so carried on. What was perhaps much more important was making sure that I did not use too much wires that it would make it impossible to move any of my character's joints.
 |
| First arm. |
 |
| Tying my character to the support rod. |
Evenly putting on the milliput took ages, I had to try and leave a decent amount of spacing for where the joints should be (Which proved quite difficult considering how small my model was) and to use just the right amount of it for my character's rather tiny limbs. I goofed up then by mixing all of my milliput, and so tried to make other little things out of it before it hardened and went completely to waste.
The next mistake I made was not tying the model tightly enough to the supporting rod (I kept messing around with it since it was a tad too high and reached the mid back of my character's form, hence getting in the way of me being able to properly apply the milliput in that area), I will have to fix that next week.
Nearing the end of the day, Donald shared with us a little on plasticine (Which we will also be using on our models for next week once the milliput has dried and hardened completely) and allowed us to familiarize ourselves with it for the remaining hour. Sizing is an incredibly important aspect to consider before model making, many of us have faced many issues today because of the fact that our models were a tad too small to work on, and so I will most definitely keep that in mind when I work on other character models in the future.
No comments:
Post a Comment